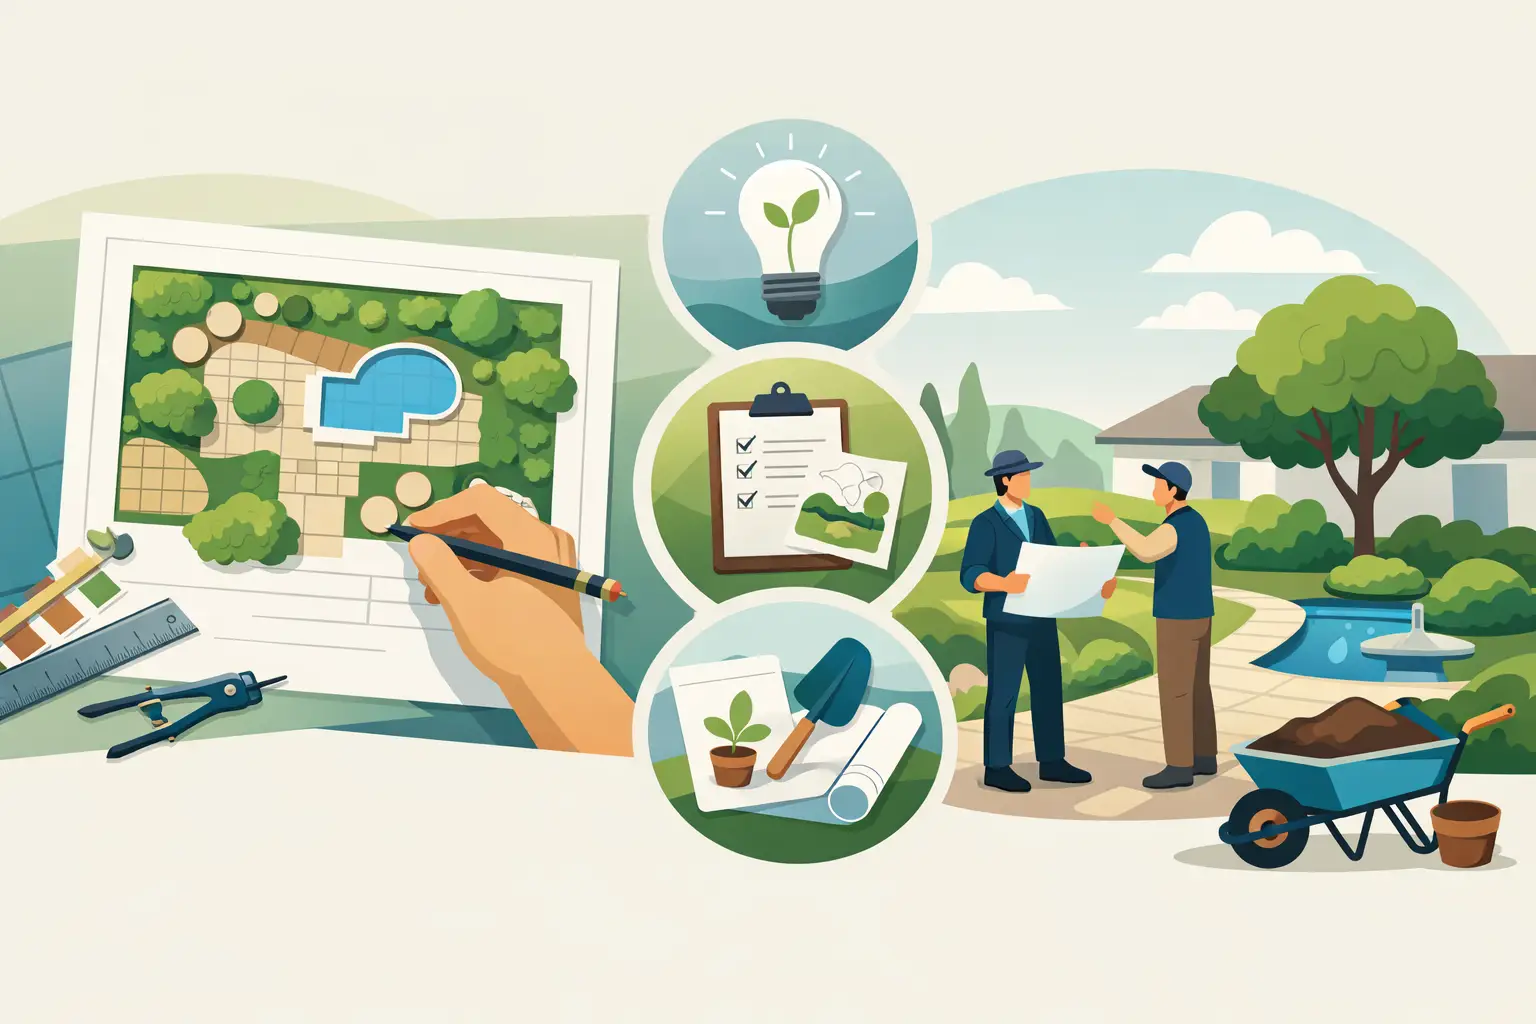
24 Mar Landscape Design Process Steps That Work
A successful outdoor project rarely starts with plants. It starts with clarity – how you want the space to feel, how you need it to function, and what has to perform well year after year. The right landscape design process steps create that clarity early, so the finished property looks refined, works hard, and feels fully connected to the home.
For homeowners and property decision-makers, that matters more than most people realize. A beautiful plan on paper can still fail if circulation is awkward, grading is ignored, or materials are chosen for looks alone. Strong landscapes are built on a process that balances aesthetics, use, durability, and sound execution.
Why the landscape design process steps matter
In premium residential and commercial work, the process is not red tape. It is quality control. Every phase helps protect the result, from the first conversation to the final installation details.
Without a clear process, projects tend to drift. Budgets expand without a clear reason, materials are selected too late, and small field decisions start shaping the outcome more than the original vision. That is usually when a property ends up with disconnected features instead of a cohesive outdoor environment.
A disciplined process creates alignment. It helps define priorities, identify site constraints early, and make sure every decision supports the larger goal. That is especially valuable when the landscape is meant to function as an extension of the home – with outdoor dining, entertainment areas, lighting, planting, privacy, and drainage all working together.
Step 1: Start with a site consultation
Every strong design begins with a real understanding of the property. That means walking the site, studying grades, drainage patterns, sun exposure, access points, existing structures, and the relationship between the house and the yard.
Just as important, the consultation should uncover how the space needs to serve the people using it. A family with young children, a homeowner who entertains often, and a commercial property manager all need different outcomes. One may prioritize lawn area and safety, another may want a polished patio with integrated lighting, while a business owner may care most about curb appeal, durability, and low-maintenance plantings.
This stage is where practical constraints and aspirational goals meet. It is also where experience matters. A seasoned design-and-build firm can often spot issues before they become costly revisions, whether that is a drainage concern, an awkward elevation change, or a layout that looks balanced on paper but will feel cramped in use.
Step 2: Define the project vision and priorities
Once the site is understood, the next step is defining what success looks like. This goes beyond choosing a style. The real questions are about use, performance, and investment.
Do you want the yard to feel private and quiet, or open and social? Is the priority outdoor cooking, poolside living, clean front-yard curb appeal, or a lower-maintenance property that still feels elevated? Are there must-haves, such as a retaining wall, a covered structure, or upgraded front entry steps?
This is also the time to establish budget expectations. That does not mean forcing a project into a generic package. It means making informed choices early. Natural stone, premium pavers, custom woodwork, specialty lighting, and mature plant material all affect cost, but they also affect longevity and appearance. The right decision depends on the property, the level of finish, and how long you plan to own and use the space.
Step 3: Develop the conceptual design
The conceptual phase is where the project begins to take shape. Layouts are explored, spatial relationships are tested, and the overall character of the outdoor environment becomes clearer.
At this point, design is doing more than decorating. It is solving problems. A concept may rework circulation so the backyard feels easier to move through, create stronger visual balance across the front facade, or introduce elevation changes that make a sloped yard more usable. It can also establish outdoor rooms – dining, lounging, fire feature, garden, or entry sequence – so the space feels intentional rather than crowded with individual elements.
Good conceptual design leaves room for refinement. That matters because not every early idea should survive unchanged. Sometimes a feature that sounds appealing at first does not suit the scale of the property. Sometimes a cleaner plan creates a stronger result. Restraint is part of quality design.
Step 4: Select materials and planting with purpose
This is where many projects either gain sophistication or lose it. Material and plant selections should support the architecture, the intended use of the space, and the long-term maintenance expectations.
Hardscape materials set the tone quickly. A natural stone terrace brings a different presence than a contemporary slab paver. The right choice depends on the house, the setting, and the level of formality you want. The same goes for steps, walls, edging, and driveway treatments. Consistency matters. Too many competing finishes can make a premium property look pieced together.
Planting design should be approached with the same discipline. Plant material is not filler around hardscape. It shapes privacy, softens structure, creates seasonal interest, and supports the overall rhythm of the property. In some cases, lower-maintenance planting palettes are the smartest choice. In others, layered gardens with more texture and bloom are worth the upkeep. It depends on how the property will be cared for and how polished it needs to look throughout the season.
Sustainability belongs in this stage as well. That can mean selecting plantings suited to the site, reducing unnecessary turf, improving drainage performance, and choosing durable materials that age well. Practical sustainability is not a trend. It is part of responsible design.
Step 5: Move into detailed planning and pricing
Once the concept is approved, the project needs technical definition. Dimensions, elevations, material quantities, construction details, and sequencing all need to be clarified before installation begins.
This phase is what turns vision into an executable plan. It also creates pricing that is tied to real scope rather than rough assumptions. Clients benefit from this level of precision because they can see where the investment is going and make decisions before crews are on site.
Detailed planning often exposes small adjustments worth making. A patio may need to shift slightly to improve proportions. A retaining wall height may change based on actual grading. Lighting locations may be refined once seating and pathways are fixed. These are not signs the process is failing. They are signs it is doing its job.
Step 6: Prepare the site and build with discipline
Installation is where craftsmanship becomes visible. Site preparation, excavation, grading, base work, drainage, and structural support all happen before the most attractive finishes are in place. That behind-the-scenes work is what allows the visible surfaces to perform properly over time.
This is one of the biggest differences between a quick landscape upgrade and a professionally built outdoor environment. The patio that stays level, the wall that holds clean lines, and the planting bed that drains properly all depend on what happens beneath the surface.
Sequencing matters here. Hardscape, structures, utilities, irrigation if needed, lighting, soil preparation, and planting all need to be coordinated carefully. When one accountable team manages the project from design through build, there is usually less friction between the original intent and the final execution. That continuity is one reason clients choose a full-service firm such as Redleaf Landscape Inc.
Step 7: Finish, review, and refine
The last stage is not simply walking away when the main construction is complete. It is about reviewing the project as a finished environment and making sure the details support the original vision.
That includes checking transitions between materials, confirming drainage performance, adjusting lighting angles, reviewing plant placement, and making sure the space feels finished from every key viewpoint. In premium work, details shape the impression. The difference between good and exceptional often comes down to alignment, proportion, and restraint.
It is also the right moment to discuss care and long-term expectations. Some materials need periodic sealing. New plantings need establishment time. Trees and shrubs will grow into the design, which means the property may look even stronger after a season or two. Knowing what to expect helps protect the investment.
What clients often underestimate
The most overlooked part of the landscape design process steps is how interconnected everything is. A planting decision can affect privacy. A grading choice can affect patio usability. A material change can influence both budget and architectural fit.
That is why isolated decisions tend to create uneven results. A project works best when design, construction, and site conditions are considered together. It is not about making the yard look busy or expensive. It is about creating a landscape that feels composed, performs reliably, and reflects the standards of the property.
For some clients, that means a full backyard transformation with integrated living space. For others, it means a front entry redesign that changes how the entire home is perceived from the street. Scale may vary, but the value of process does not.
When the planning is thoughtful and the execution is disciplined, the finished landscape feels natural to the property – as if it always should have been there. That is usually the clearest sign the process was handled well, and it is the kind of result worth building carefully from the start.